Summer Bliss!
If you are new to raising a garden, it can be overwhelming. I can remember going to the garden shop and feeling so bewildered at everything: zones, perennials or annuals, when to plant, how far apart, what…?!
Now that I’ve gardened for half a century (!), I finally feel confident, and I still learn new things every summer. One of our readers asked for a basic “how-to for the newbie”, so here’s my attempt at summing it all up!
Plants or Seeds?
Seeds are the most economical way to go, plus you have the choice of so many more varieties. You can also reduce your need for buying seeds or plants every year by saving your own seeds. You can use your own saved seed to plant directly in the ground or to start early indoors to produce plants you can transplant into the garden later. It will say on the seed package if it is a heirloom or a hybrid. If it doesn’t say “hybrid”, it is a standard or heirloom and will produce seed true to the parent plant.
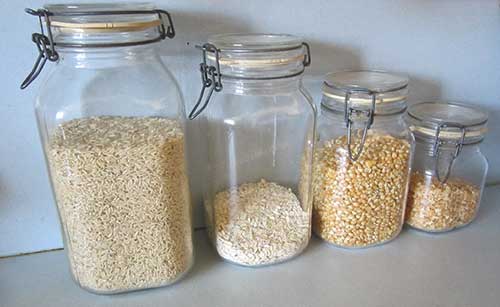
The bigger package of seeds you buy, the better deal you get. You can even buy seed in bulk by weight at farm stores like IFA (Intermountain Farmer Association). Department or hardware stores offer seeds along with onions sets (a dried-out looking bundle of baby onion plants), garlic bulbs, bare root strawberries, and potato starts (baby sized potatoes).
Buying plants in May/June is the easy (and costly) way to go and gives you several weeks of jumpstart on the season. A 12″ tall tomato plant is going to give you tomatoes weeks before the seeds you plant in the garden. If your season is short (where freezing weather stops in late May and comes again in September), you won’t even get ripe tomatoes or peppers if you don’t use plants that have been started indoors.
Here is a general rule for those who live in areas that freeze (thus giving them a shorter growing season):
Plant by seed: all the cool weather crops (listed below) plus squash, melons, beans.
Buy plants: tomatoes, peppers, eggplant—and broccoli and cabbage if you don’t get it in by early March— and melon or winter squash if you want a headstart and an earlier harvest. Also buy onion sets and bareroot strawberry plants, rather than attempt to grow them by seed.
Here are a few good places to get heirloom seeds:
- your local dollar store—they usually have seed packets in the spring for a cheap price like 4 for $1.00. Just because they are cheap doesn’t mean they aren’t great. They grow. They are non-hybrid although they don’t say it. No fancy varieties, but you can usually get marigolds, Marketmore cucumbers (a non-hybrid variety), green onions, radishes, summer squash and other standard crops.
- drug stores (Walgreen’s, Rite Aid, CVS, etc.)—have a cardboard stand with cheap seeds, usually all non-hybrid varieties.
- Walmart—Walmart will have the same cheap seed packets as mentioned above, plus they have started a 50 cent seed packet line that gives you fewer seeds. This is a great way to get lots of variety without spending too much.
- Baker Creek Heirloom Seeds—fabulous variety of heirloom seeds! Their catalog is full of color pictures that make your mouth water. You’ll find everything you ever dreamed of growing. http://www.rareseeds.com
- Standard gardening companies such as Burpee, Gurney’s, Park Seeds, etc. Just google “seeds” and you’ll find plenty.
- Your local garden nursery. Pricier usually, but I like supporting local business.
- Neighbors! This is the best resource, because the seeds are tried and true—have been grown in your own area and soil type and are usually free. Can’t get better than that!
When to Plant
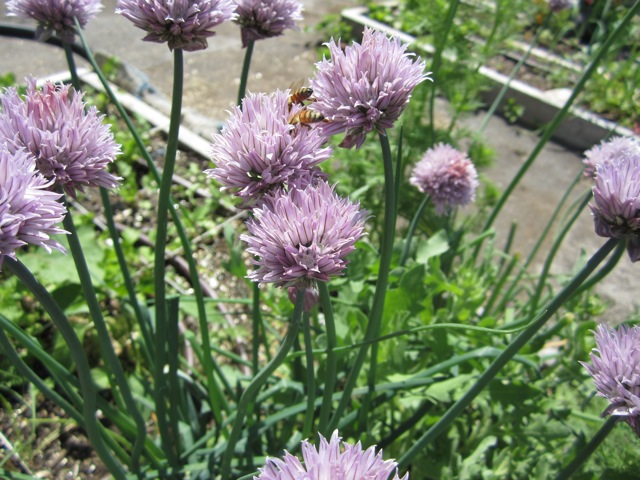
Green Onion Blossoms
Cool crops should be planted when the ground thaws in early spring (which is March in Utah):
- Sugar snap peas – Yum!
- Regular peas – I don’t plant these, because they require shelling and I like the edible pod of the sugar snap peas eaten raw.
- Snow peas – a flat pod used in Asian food
- Cabbage – very prone to aphids and cabbage worm, but diatomaceous earth will solve that. So sweet when grown in the garden, a very different product that the grocery store cabbage.
- Carrots – a garden staple. The seed must be kept wet for a week to germinate. If you plant this when the weather is warm and dry, lay a piece of cardboard, cloth, wood, whatever on top of it after planting and watering to trap the moisture. Leave in place for a week until the carrots germinate.
- Cauliflower
- Broccoli – cut the head off and your plant will produce more broccoli heads over and over all summer long
- Brussel sprouts – so sweet and good when you grow your own!
- Lettuce – plant leaf varieties, not Iceberg type (which is low in nutrition, cheap to buy in the grocery store, and difficult to grow if your summer gets hot).
- Kale – high nutrition, not big on taste (in my opinion). I chop it and add to everything: stew, soup, casserole, scrambled eggs, lasagna, honestly everything. I dry some in my food dehydrator and crumble it and store it in spice bottle to add nutrition to whatever I’m cooking. Buy the flat leaf variety as curly leaf kale is a safe haven for bugs that are hard to wash out.
- Collards – I use this the same as kale.
- Beets – Can use the young greens in salads, and the ball root for a sweet delicious veggie. Don’t plant too many! Can harvest when golf ball size up to softball!
- Swiss Chard – Bright Lights has colorful stems: yellow, red, pink! Use this fresh in salads, or shredded in casseroles or soups.
- Spinach – we eat this mostly raw, plucking off outer leaves as it grows. Bolts easily, not a summer crop.
- Radish– Hailstone is my favorite, a sweet radish that grows into big white balls!
- Cilantro – bolts easily in heat so plant early and enjoy that delicious flavor! Essential for salsa or Thai cooking.
- Parsley – very slow germination (weeks) and must keep soil moist while it germinates. Once you’ve got it growing, it will overwinter and reseed itself generously. Choose the Italian flat variety as it is more flavorful and has no bug hideouts like the curly variety.
- Green onions – a garden staple that I use from early spring until late fall
- Oregano – super flavorful, and healthy too! Overwinters and comes up again in the spring. Spreads easily, so put it off to the side of the garden.
- Garlic – plant it in the fall and it will be up very early in the spring, and ready to harvest in June, when the tops grow curling “scapes” which are edible too.
- Strawberries – can tolerate some shade, which is a plus for those garden areas that aren’t full sun.
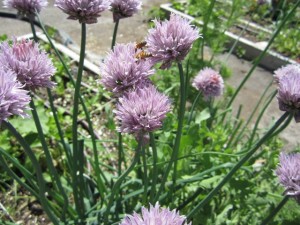
- Chives – easy to grow, delicious chopped in salads, stir fries, on baked potatoes, and more. They flower with a beautiful lavender pompom blossoms the second year before reseeding themselves!
You can continue to plant many of these as the weather warms up, but lettuce will turn bitter and bolt, as will spinach. Peas can’t take heat, so if you don’t get them in during the early spring, skip them.
Warm weather crops have to wait until the ground warms and all danger of frost is past:
- Cucumber – There is a wide variety in the taste of cucumbers! Pickling cucumbers are warty and are grown for pickle-making… not my favorite fresh. Lemon Cucumber is a round yellow-green cucumber that is delicious when picked the size of a lemon. Armenian cucumbers grow up to 18″ long and are light pale green with a mild taste. My favorite cucumbers are dark green, long, small seeded cucumbers. I plant some hybrid variety of cucumbers because they have improved the taste so much. I just don’t get to save their seed.
- Tomato – there are so many heirloom varieties! I also plant many different types of big heirloom tomatoes and just one plant of a cherry or grape tomato for pick-and-eat in the garden.
- Winter Squash – Butternut, Hubbard, Buttercup, Sweet Meat are all good varieties. For me, nothing beats the taste of a ripe Hubbard. I especially like the Blue Hubbard. These are huge squashes, so make room!
- Summer Squash – Gotta have straight-neck yellow squash, and zucchini. What would summer be without these filler foods? Chop them up and put them in scrambled eggs, Asian food, soups, stews, casseroles, etc.
- Melons – Crenshaw, Honeydew, Cantaloupe, Watermelon (Sugar Baby or other small varieties)—super delicious!
- Beans – Blue Lake pole beans are my favorite. Bush beans ripen all at the same time for those who like to can (not me). Pole beans make a vine that just keeps growing, keeps producing all summer long.
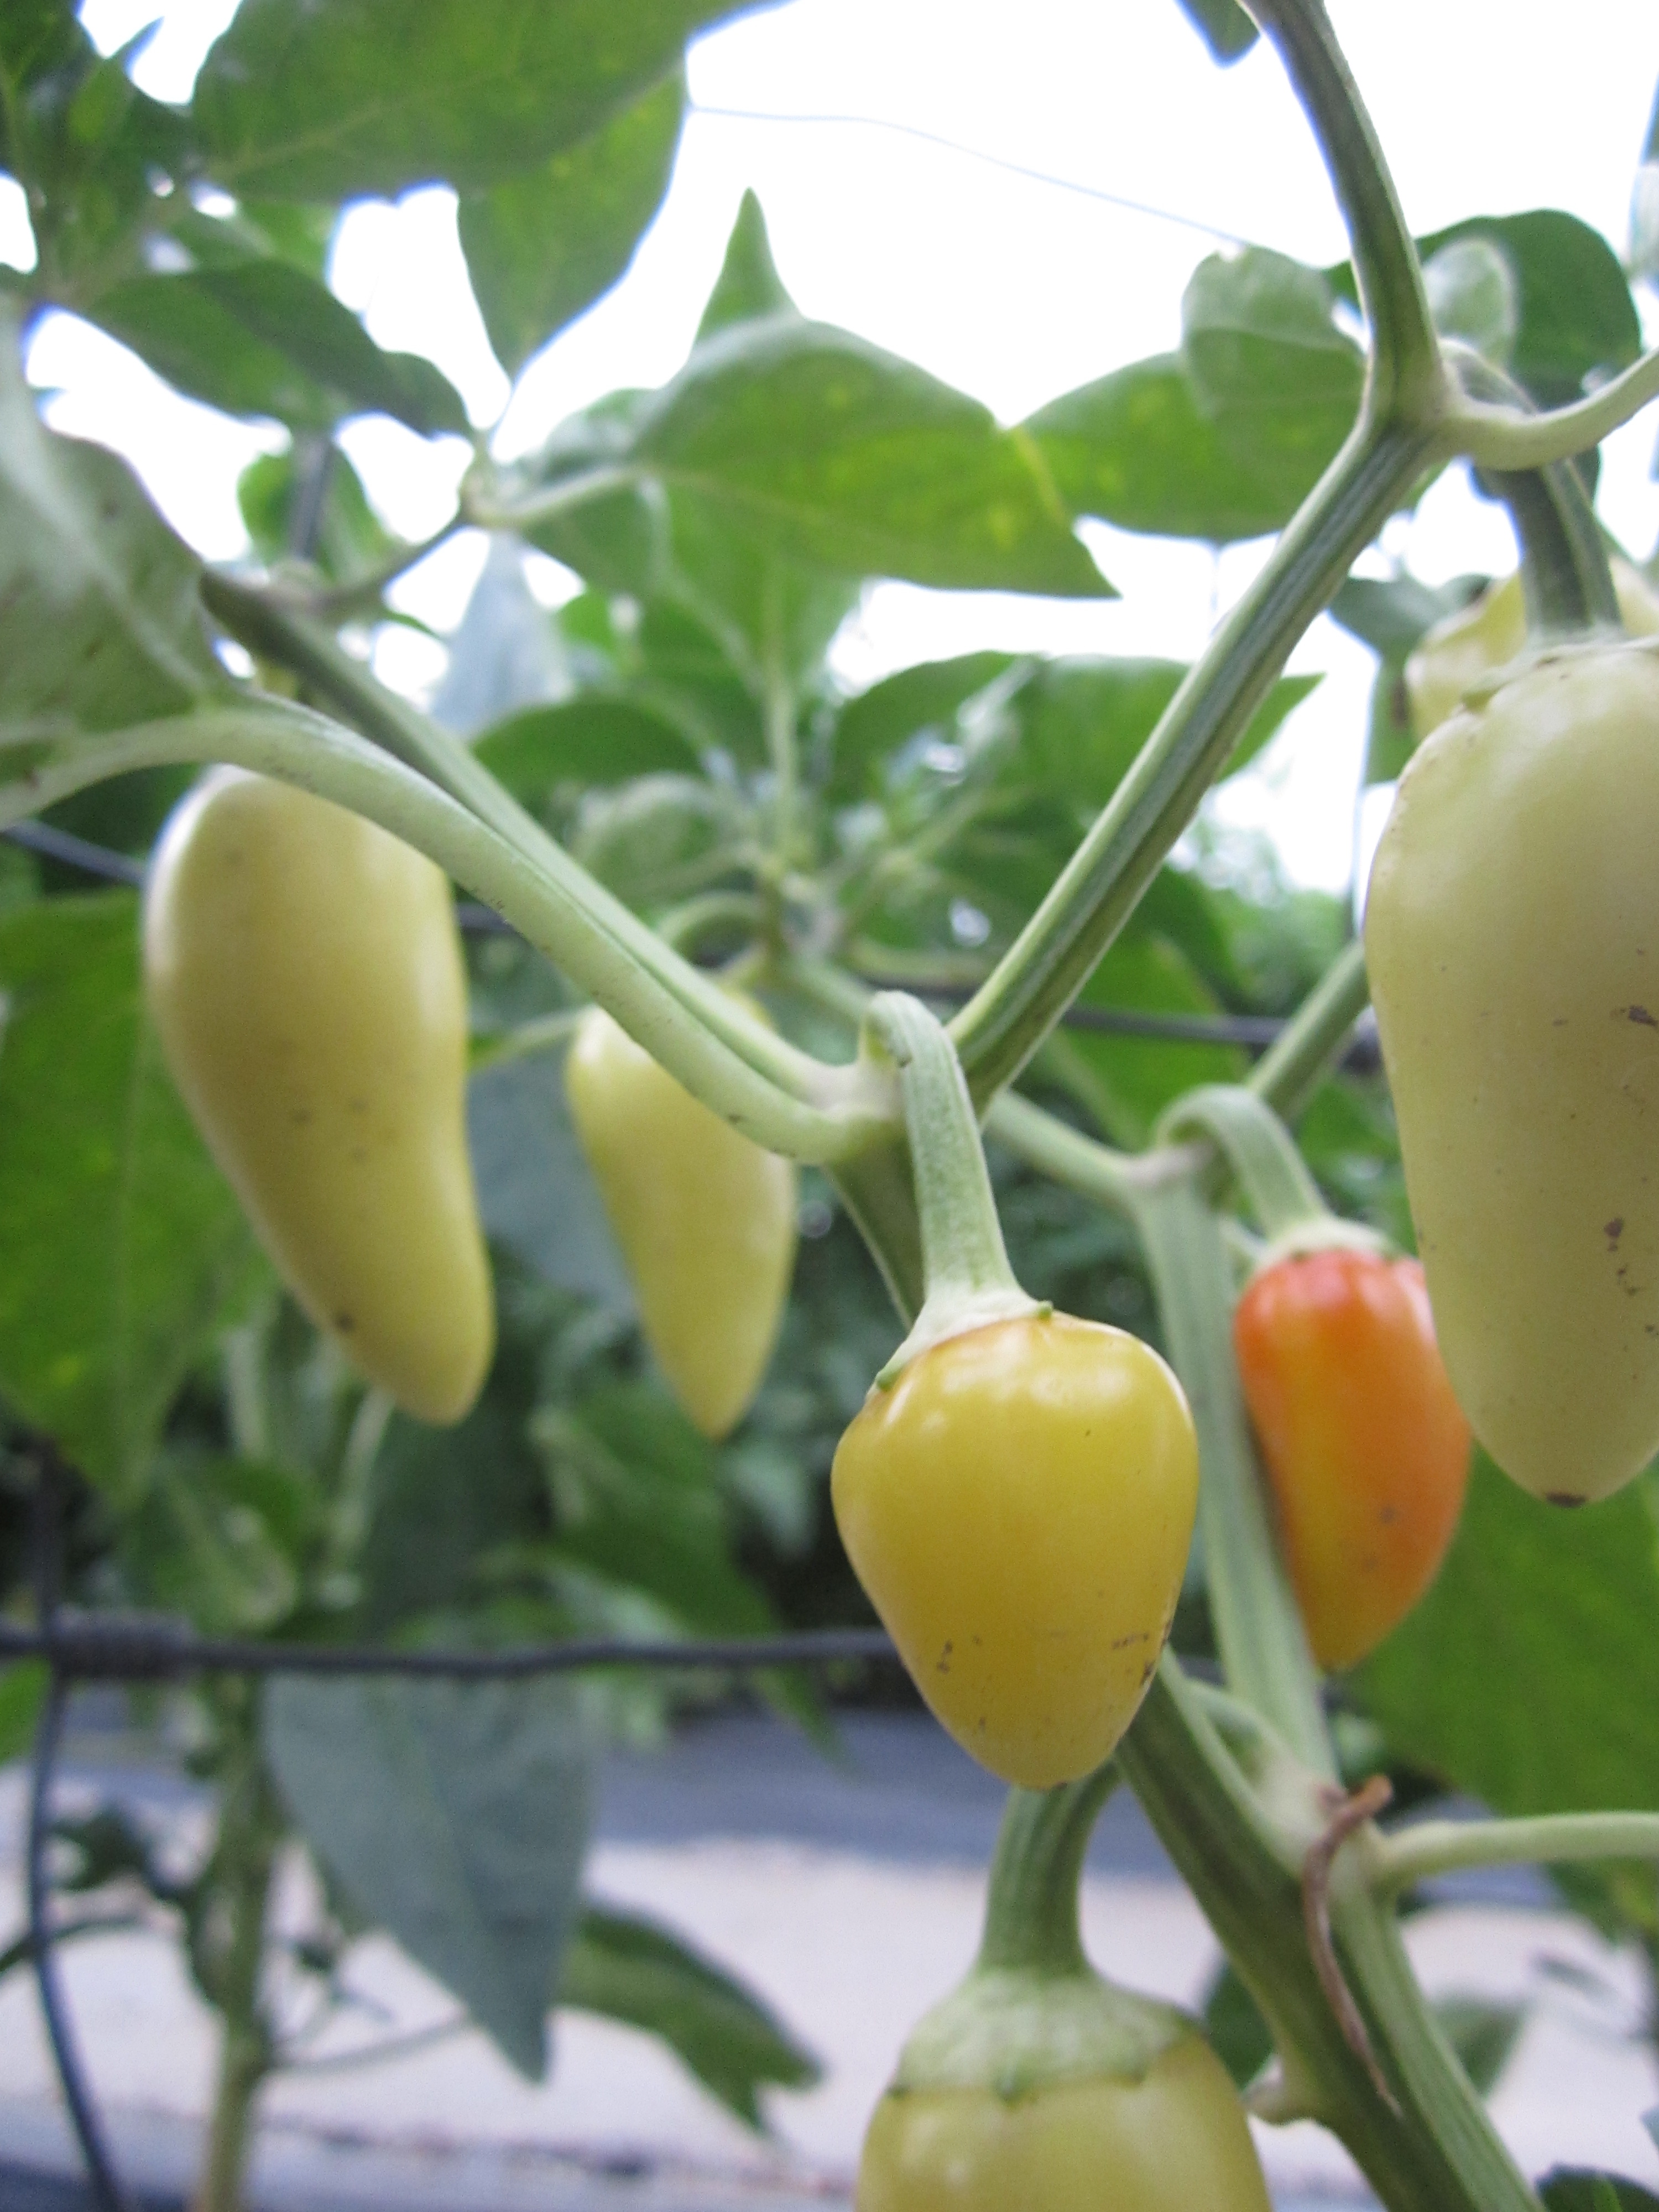
- Peppers – I always plant jalapeno for our favorite Jalapeno Poppers dish, along with green and red bell peppers.
- Eggplant – Black Beauty is the classic eggplant variety that I love. For fun, I grow FairyTale which is purple and white striped. This year I planted “Little Fingers”. Chop and add to spaghetti sauce or make eggplants steaks, or ratatouille (a delicious mix of eggplants, tomatoes, peppers and onions).
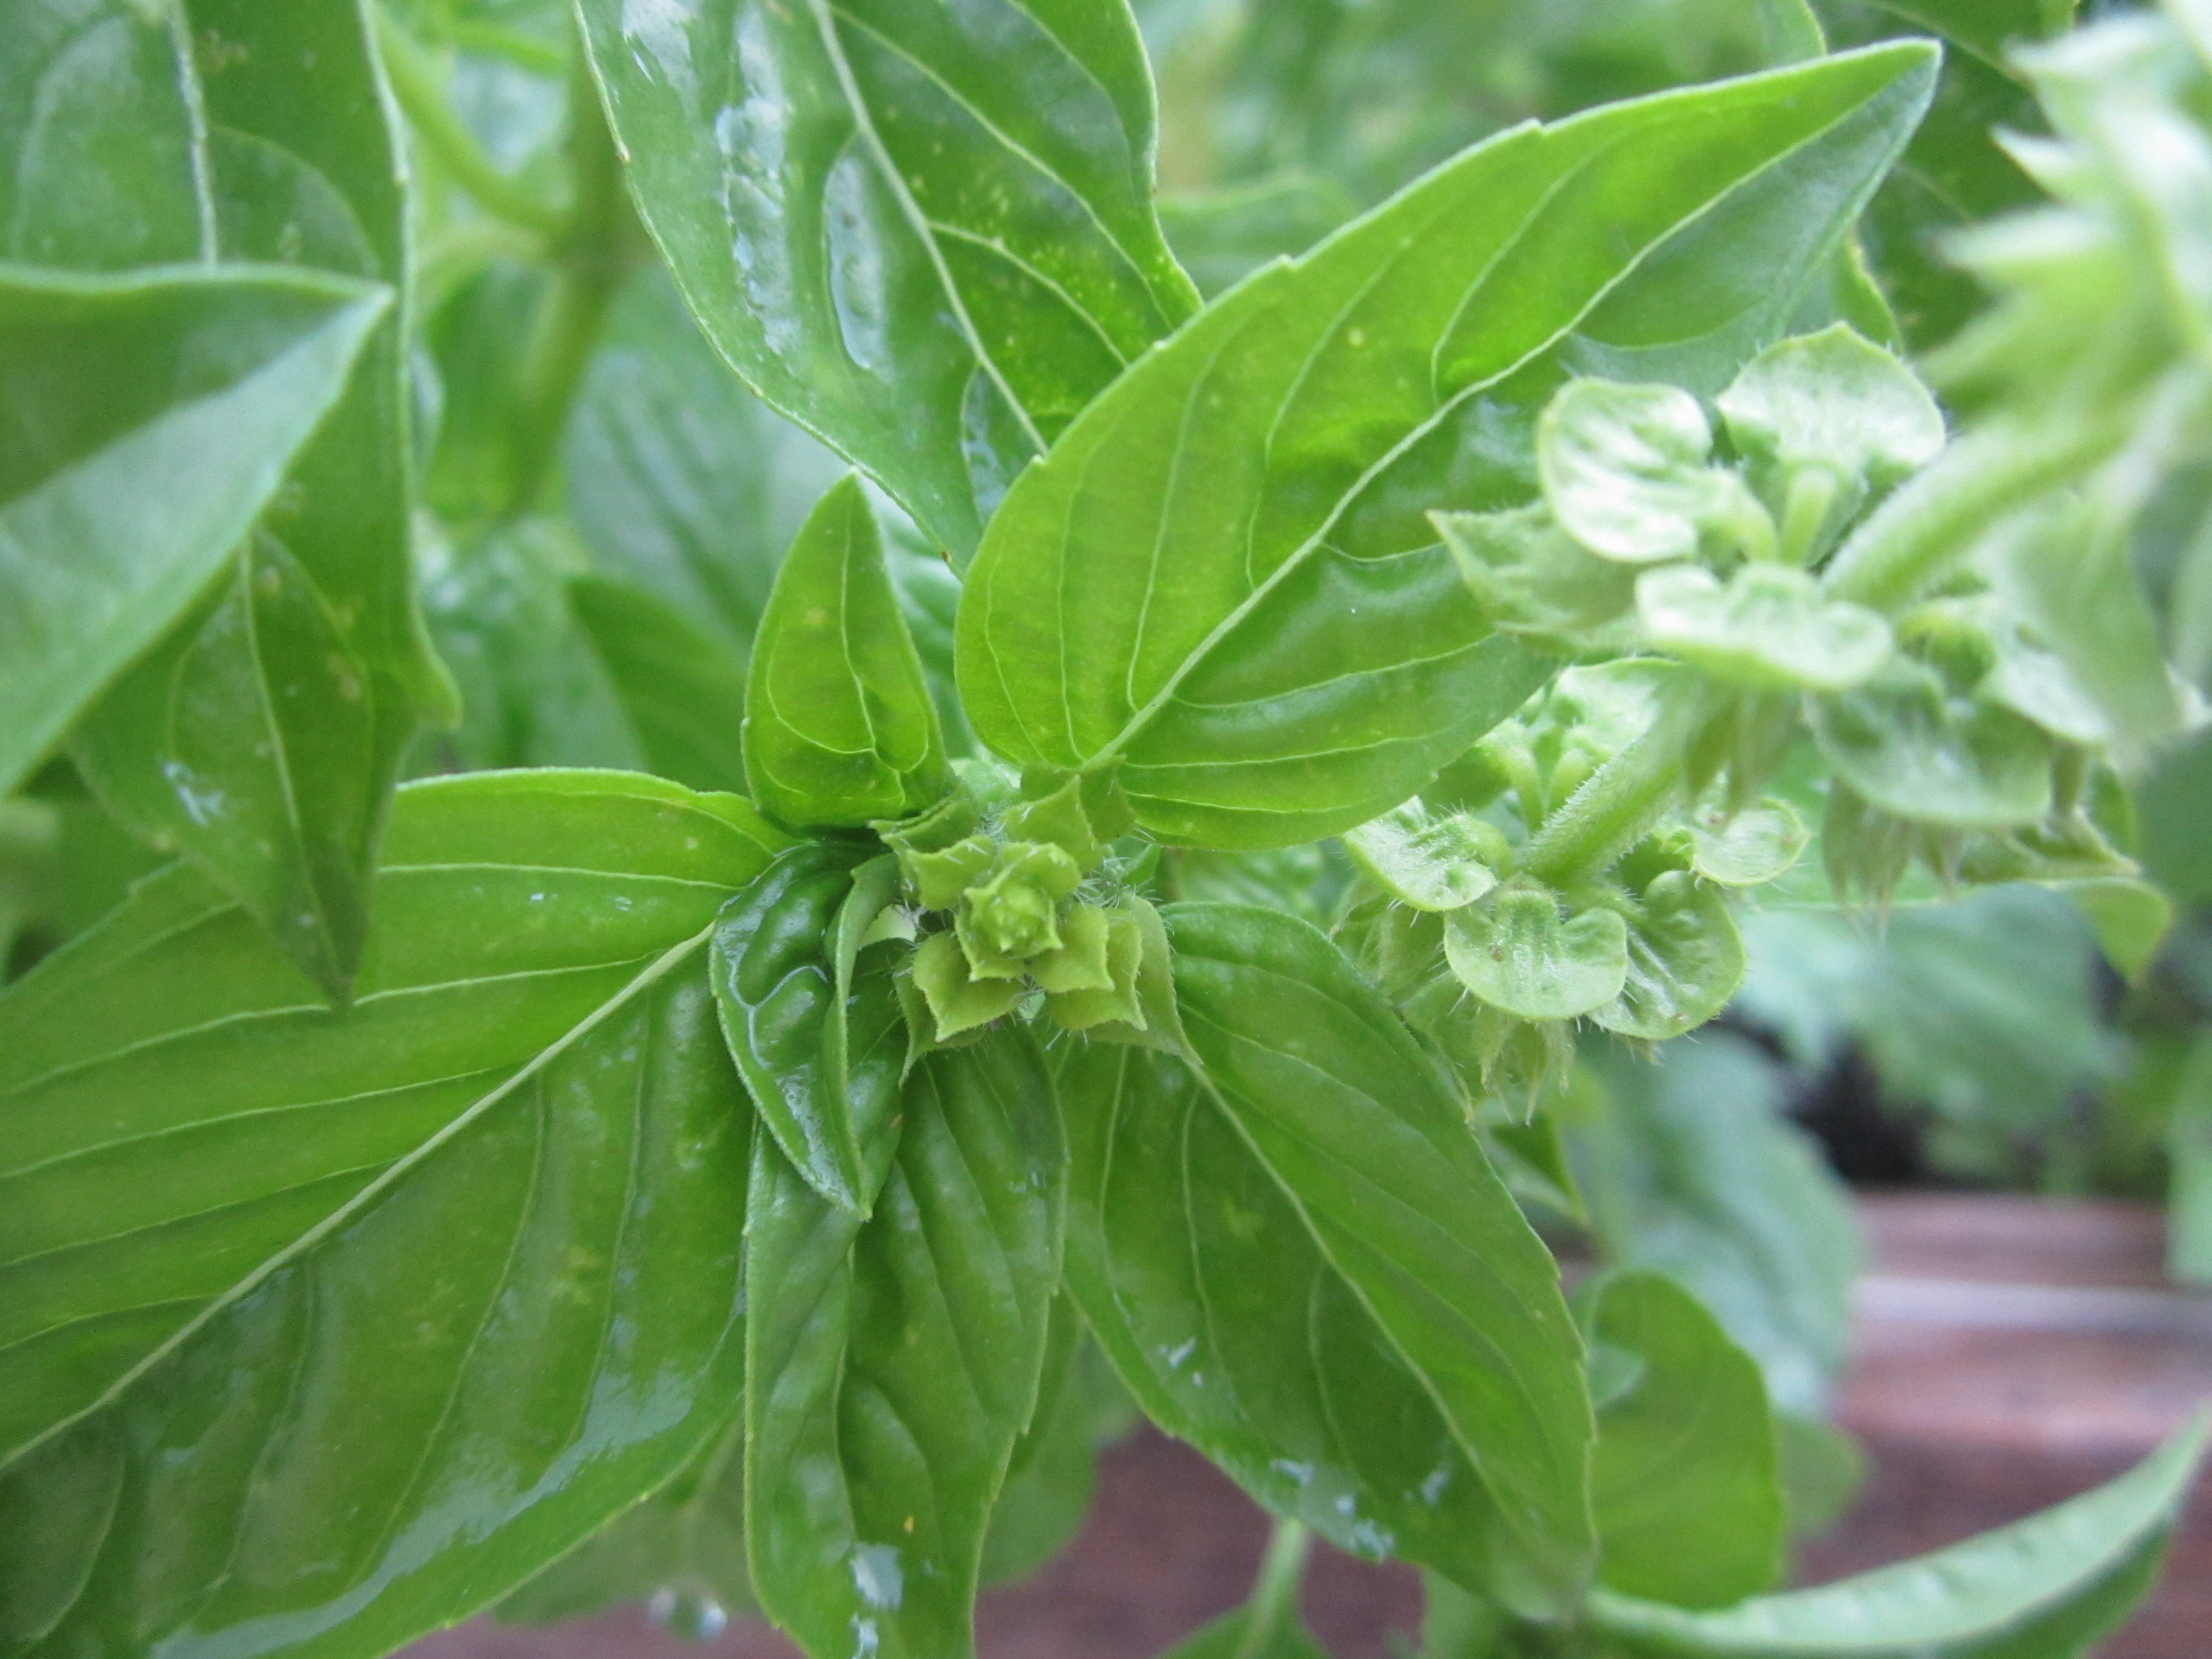
- Basil – A very tender herb (tender meaning it cannot take the slightest frost) that is highly flavorful. Summer wouldn’t be summer without pesto, spaghetti sauce or pizza flavored with basil.
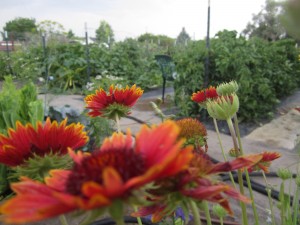
- Flowers – Tuck some marigolds, bachelor’s buttons, alyssum, cosmos and zinnias in your garden for lots of color! It’s great to have a vase of flowers on your table all summer long.
Mulch

Growing up….on a fence! That is carpet between the rows, and black plastic under the planted area.
Any dirt that is not covered is going to grow something green and tenacious. Period. Mother Earth operates on a “no bare soil” policy. So only leave openings of dirt where you have a plant you desire growing. Cover everything else up! That is the trick to enjoying gardening. Who needs a big weeding job and a backache? Weeds, being more vigorous than the plants you want to grow, will steal water and nutrients—plua shade and crowd our your crops. Some weeds produce as many as 70,000 seeds in a season. You aren’t going to win! Never let a weed grow a seed head, and never expose dirt unless you are going to plant in it immediately!
“Mulch” is the name for anything you put down on the dirt that prevents essential sunlight from getting through. Mulch can be black plastic, old carpet, cardboard, newspapers, wood, gravel, wood bark chips, thick autumn leaves, aluminum foil, dried grass clippings, pulled weeds before they form seeds, nut shells….you get the idea! Even shade from seedlings will discourage weeds, so plant things close! The only “dirt” you see in my garden has something planted within an inch. All my pathways are covered with old carpet. My long tomato and melon beds are covered in plastic, with little openings cut for the seed or plant. I use red plastic for tomatoes, eggplant and peppers (which gives you 20% more yield), and black plastic for melons and squash. (I’ve just learned that green plastic makes melons ripen faster, so I am going to try buying a green plastic tablecloth from the dollar store to plant in.) I use mulch everywhere in my garden because I don’t enjoy pulling weeds. I enjoy growing plants for food and beauty!

Baby Peppers
Spacing
Plant your seeds 3 x as deep as the size of the seed. So a big bean seed that is 1/3″ in thickness should be planted 1″ down. A tiny speck of a seed like a carrot seed should barely be pressed into the soil.
Imagine the finished crop. A carrot is about 1-2″ in diameter, so ideally, plant your seeds that far apart, so when you are ready to harvest, the carrots will barely touch each other. Of course, you will be pulling and eating carrots all summer long, from tiny carrots in early summer to big guys at the beginning of fall. Ready grown seedling plants are spaced the same way. Imagine the fully grown plant and space accordingly.
If you use square foot beds, instead of rows, you can plant about 8 carrots across by 8 carrots down, resulting in 64 carrots in one square foot of soil!
Transplanting
If you pay good money for plants at the garden shop, make sure you don’t kill them when you plant them in your garden. The ideal transplanting weather is cloudy and cool. Gently squeeze the plastic pot to loosen the soil and then tip it upside down gently easing the plant into your hand. Resist the urge to yank on its stem! If your plant is root-bound (you see roots circling the outside of the soil), you will have to gently scratch the side of the soil to rough up the roots so that they don’t continue to spiral around but instead send their roots out into your garden soil and thrive. Melons and squashes do not like their roots disturbed at all, so go easy here. Slide the plant gently into the hole you have made, pressing to squeeze out any air pockets. Make sure you keep the soil level that same as it was in the pot. Water thoroughly.
If it is a sunny day, set up some shade to help the plant adjust. You can set a lawn chair over the plant for a day or two. Create shade any way you can, but don’t leave a newly transplanted plant out in the broiling sun…that’s murder!
Bugs
I don’t like to poison anything in the veggie garden, as I feel it contaminates the crops and gets into the soil, and I don’t want it in my body. There is one natural “bug killer” that I use freely: diatomaceous earth. It is healthy enough to be taken internally for humans (as a parasite cleanse) and it does the same damage to bugs in the garden. The sharp diatoms in this naturally occurring earth will kill soft bodied bugs. Sprinkle it on or around your plants when the soil and plants are dry, as water dissolves it. You’ll have far fewer bugs to deal with! Note: be careful not to inhale the dust, as it isn’t good for your lungs, but the powdery substance is 100% non-poisonous.
The other precaution I take is to have my chicken run surrounding my garden so the grasshoppers get eaten before they jump in! If you have problems with grasshoppers, plant tobacco around the edge of your garden. They love to eat it, and it poisons them!
You can also plant companion plants that deter bugs. Marigolds are supposed to discourage bugs in squash plants. Some people plant dill as a trapping plant, as aphids will go there instead of on your food crops. I don’t like aphids anywhere, so I use diatomaceous earth.
Tomato horn worms, those devilish green-camouflaged worms that gobble up your tomato plants, can most effectively be hand picked—which is creepy but some kids like the job! They are easiest to see in the cool of the day before they move into the center of the plant for shade. Throw them to the chickens!
Watering

Basil, all ready to be made into yummy pesto!
Leaves can “sunburn” when they are watered during the bright daylight. The water droplets on the plants act as a magnifying glass and burn the leaves. The best time to water is early morning, at dusk or during the night. Better to leave the water on for two hours every few days than to stand and spray the plants with a hose for 15 minutes or so daily. That works for getting seeds wet, but not for growing plants. Even though everything looks wet after you sprinkle with a hose, dig down a few inches into the soil after watering and you’ll be surprised to find that it is very dry! The soil needs to be wet down to the roots, so longer periods of slow watering is best. Watering just the soil via a soaker hose or irrigation system of lines with emitters is the best choice. Overhead sprinkling can work too, but squash can get mildew on their leaves if they are overhead watered.
Some crops (potatoes, melons) need a lot of water to give a good crop. Don’t let them get too dry. The top of the soil is not a good indicator. Stick your finger down into the dirt to see what is really going on.
Fertilizer
I’m an organic gardener, so I don’t use chemicals. I do gather fall leaves (yes, I snatch garbage bags full of leaves that people set out on their curb and haul them home in my van!) These get dug into my garden beds, adding chicken manure/straw from cleaning out the coop. This decomposes while the garden lies dormant late fall through early spring, and is ready to plant. If you don’t have chickens, you can take the easy route by adding some bags of aged steer manure to restore nutrients to your garden beds—they usually cost less than $2 a bag at Walmart.
Rows, Boxes, Beds?
I love to use Square Foot Garden 4′ x 4′ boxes for anything small: herbs, lettuce, spinach, onions, cilantro, peas, etc. I plant close together so a weed doesn’t stand a chance. It is a beautiful thing to see those boxes full of green growing things!
For big sprawling plants like melons, cucumbers, squash, tomatoes or plants that prefer to have the ground heated up by black plastic—like eggplant and peppers,—I use 3 feet wide beds. I cover this with plastic mulch, laying carpet between the beds to walk on. Everything is neat and tidy, and I only water the beds, not a whole huge plot of dirt that can grow endless weeds.
Supporting Sprawling Plants
I grow everything up. I live on 7 acres, so I am not pressed for space, but it is so much more efficient to plant in a small area that is weed-free, under mulch, and let the plants vine up a fence for support. It keeps the fruit off the ground, cleaner, and easier to access. I grow tomatoes, eggplant, peppers, melons, squash, pole beans and snap peas along a wire fencing support.
Seed Saving

Easy and fun: save your own garden seeds!
If you plant non-hybrid (heirloom) seeds, you can let one or two plants of each crop mature beyond the edible point for seed production. For example, if you want a hundred radish seeds, let one or two radishes stay in the ground growing bigger and bigger and tougher and less edible. Eventually they will bolt, or send up a seed stalk, flower, and go to seed. Radishes form bumpy pointed seed capsules that each contain multiple seeds. Wait until fall time, when they have dried and turned brown and pluck them from the plant. Lay the seed capsules on a cookie sheet out of the sun and let them finish drying completely. Break the capsules open and shake out the seeds. (If you wait too long in the garden, the seed capsules will dry and pop open, reseeding themselves, which is nice, but maybe they will drop seed on the pathway instead of the soil.) Label an envelope or ziplock baggie and store your seeds for next season.
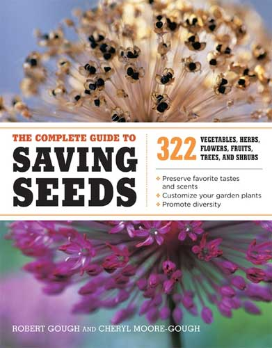
Not all plants seed the first year. Onions, carrots, parsley and others will overwinter and go to seed the second summer. For details on this rewarding and money saving practice, I highly recommend the book, Saving Seeds.
What Else?
I know I left out about a million things, so if you have questions, feel free to ask them in the comment section of my blog, and I’ll answer them!
Happy Gardening!

Please leave a comment or ask your questions here. Thanks!!!

 Whose responsibility is it that you are happy?

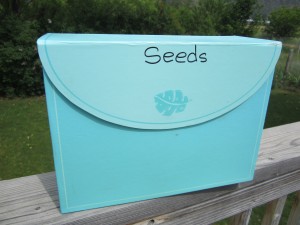 It’s that planting time of year that I love so much! A couple of years ago, I decided to organize my seeds, and it sure has made spring gardening so pleasant. I can see at a glance which seeds I need to buy, saving me from multiple duplicate purchases. It also helps me remember to plant all of the vegetables and flowers we enjoy. Best of all, I don’t have seed packets strewn all over my laundry room anymore!
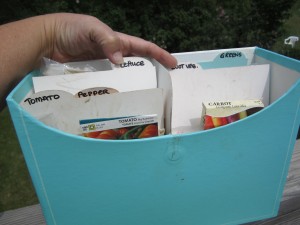 I like to grow heirloom seeds (non-hybrid) and save seeds from them—which is really an easy process, and saves you lots of money on seeds. Once the seeds are well-dried in fall time, I put them in a little ziplock bag, label them and file them for next spring’s planting.